Turn Everyday Light into Professional Results
In our previous lesson on Types of Lighting, we explored the characteristics of different light sources. Now, let us focus specifically on natural light — the free, beautiful resource available to every photographer. Learning to recognize, predict, and modify natural light transforms ordinary scenes into extraordinary photographs.
This lesson builds on those fundamentals, showing you how to make natural light work for you.
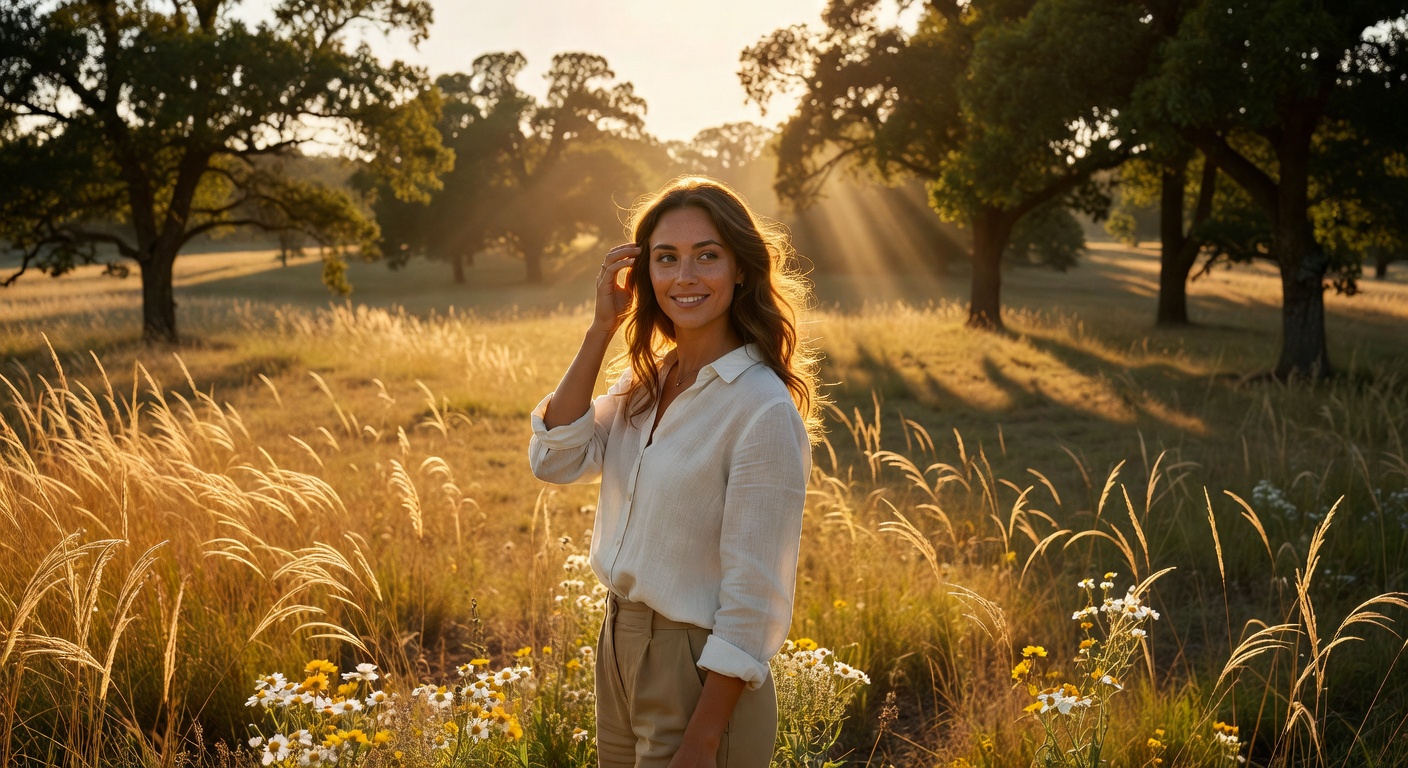
1. Golden Hour and Blue Hour – Nature’s Magic Hours
Golden Hour (1 Hour After Sunrise, 1 Hour Before Sunset)
The most coveted natural light period.
Characteristics:
- Warm color temperature (3000-4000K)
- Low sun angle creates long, soft shadows
- Reduced intensity = less harsh contrast
- Beautiful golden tones
Best for:
- Portrait photography (flattering skin tones)
- Landscape photography (warm light on mountains)
- Urban photography (golden glow on buildings)
Blue Hour (30 Minutes Before Sunrise, After Sunset)
The magical twilight period.
Characteristics:
- Cool blue tones (8000-12000K)
- Low light requires tripod/long exposures
- Mixed with warm artificial lights = beautiful contrast
Best for:
- Cityscapes (blue sky + warm city lights)
- Landscapes with reflections
- Dramatic portraits
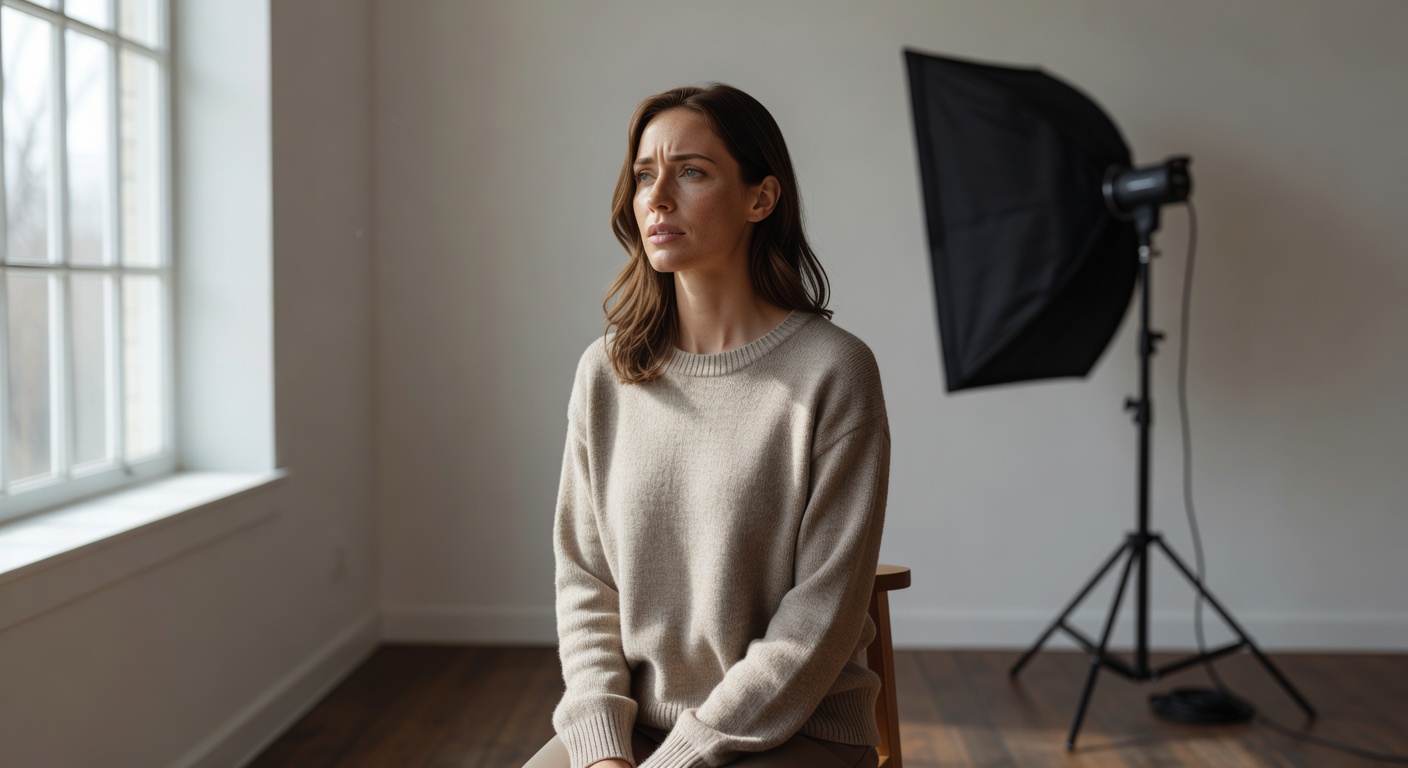
2. Overcast Days – Portrait Gold
Cloudy days provide photography’s best all-purpose light.
Characteristics:
- Large, diffused light source = soft shadows
- Even illumination across entire scene
- No harsh highlights
- Perfect for wide apertures (shallow DoF)
Best for:
- Portrait photography
- Product photography
- Any situation requiring even lighting
Pro tip: Overcast days are ideal for learning composition — light does not interfere with your vision.
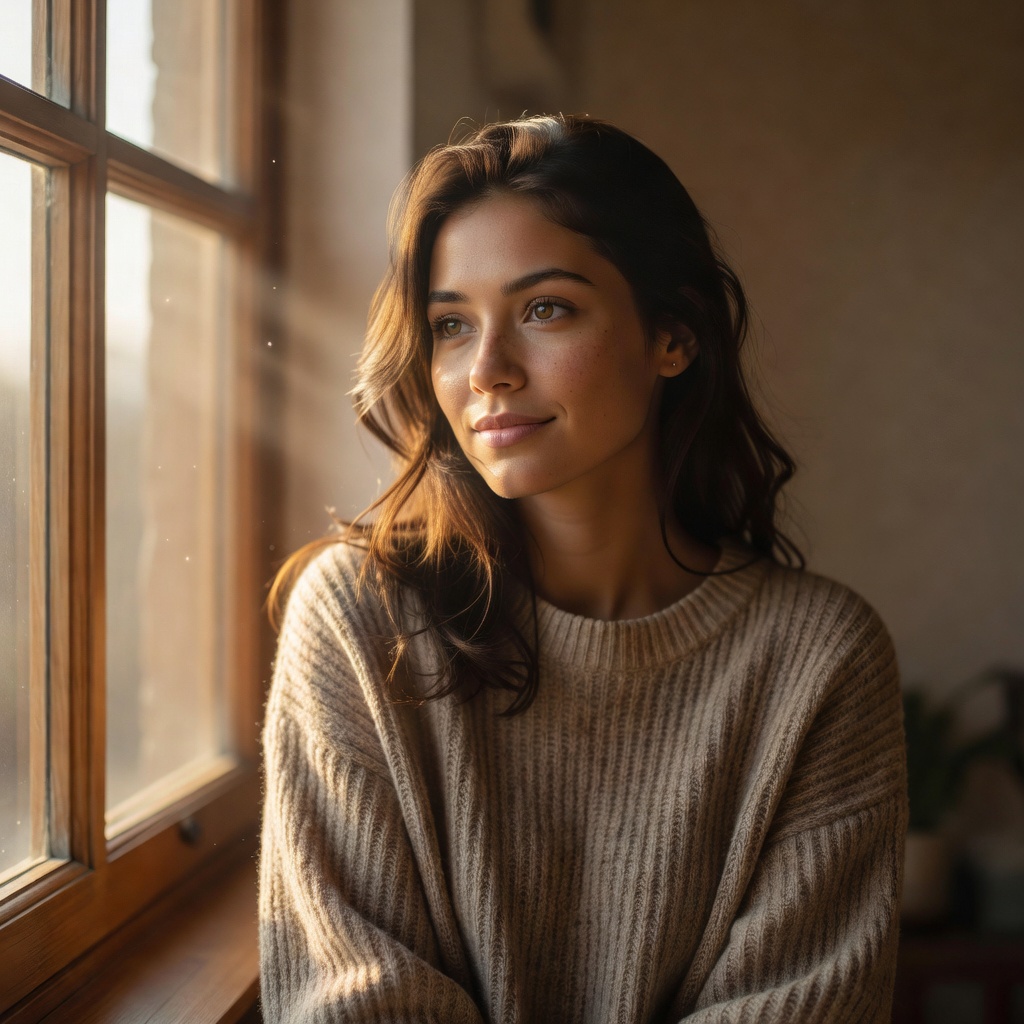
3. Window Light – Your Free Softbox
North-facing windows provide photography’s best continuous light source.
Characteristics:
- Soft, diffused light
- Consistent throughout the day
- No color temperature shifts
- Beautiful catchlights in eyes
Setup tips:
- North-facing: Most consistent, cool light
- East/West: Warmer during morning/afternoon
- Use sheer curtains: Further diffuse harsh light
- Position subject 1-2m from window: Softest light
Best for: Portraits, still life, product shots.
4. Backlight and Rim Lighting
Light from behind your subject.
Characteristics:
- Creates silhouette or rim light effect
- Separates subject from background
- Dramatic, high-contrast look
Techniques:
- Silhouette: Expose for background, subject goes black
- Rim light: Slight exposure for subject outline
- Fill light: Add reflector/flash for subject detail
5. Reflectors and Diffusers for Natural Light Modification
Transform existing light with simple tools.
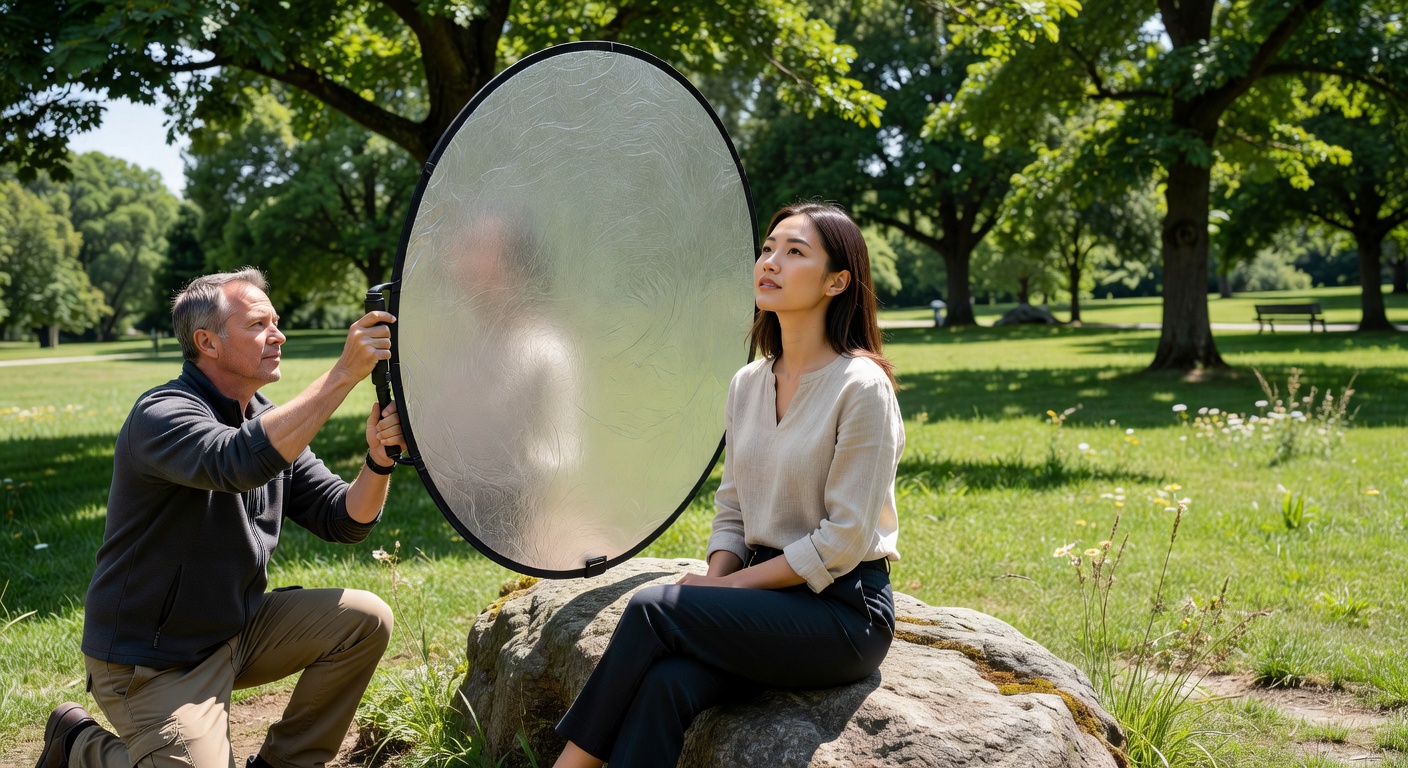
Reflectors (5-in-1: White, Silver, Gold, Black, Translucent)
- White: Soft fill light
- Silver: Bright, cool fill
- Gold: Warm, flattering fill for portraits
- Black: Blocks light, creates shadows
- Translucent: Diffuses harsh light
Diffusers
Soften harsh sunlight.
Examples: White umbrella, shower curtain, translucent fabric.
Positioning
- Fill reflector: Opposite main light source
- Rim reflector: Behind subject
- Block reflector: Between harsh light and subject
6. Apps and Tools for Light Planning
Never guess when you can predict.
- PhotoPills: Exact golden/blue hour times, sun/moon position AR overlay
- The Photographer’s Ephemeris: 3D light mapping for landscapes
- Lightmeter apps: Manual exposure calculation
- Weather apps: Overcast predictions
Example: Plan a golden hour portrait using PhotoPills sun position — arrive 30 minutes early, scout angles.
7. Practical Exercises for Natural Light Mastery
Exercise 1: Golden Hour Portrait Series
30-minute window. Shoot same subject every 5 minutes. Document changing light quality.
Exercise 2: Overcast vs Sunny Portrait Test
Same subject, two days: overcast and sunny. Compare skin tones, shadows, catchlights.
Exercise 3: Window Light Studio
Set up still life by window. Test all window directions (north/south/east/west). Try curtains for diffusion.
Exercise 4: Backlight Challenge
Strong backlight scene. Shoot silhouette, rim light, fill light versions. Use reflector for fill.
Exercise 5: Reflector Rainbow
Outdoor portrait. Cycle through all reflector surfaces. Document skin tone and shadow changes.
Conclusion: Natural Light is Your Free Studio
Natural light is photography’s greatest gift — free, beautiful, and always available. Golden hour for drama, overcast for perfection, window light for consistency, reflectors for modification. Master these, and you create professional results anywhere.
Your assignment: Next photoshoot, arrive 30 minutes early. Scout light, plan your golden hour shots using an app. Notice how light quality affects mood and technical quality.
In our next lesson, we will explore artificial lighting — flash, studio strobes, and LED panels. Building on your natural light mastery, you will gain complete control over lighting.