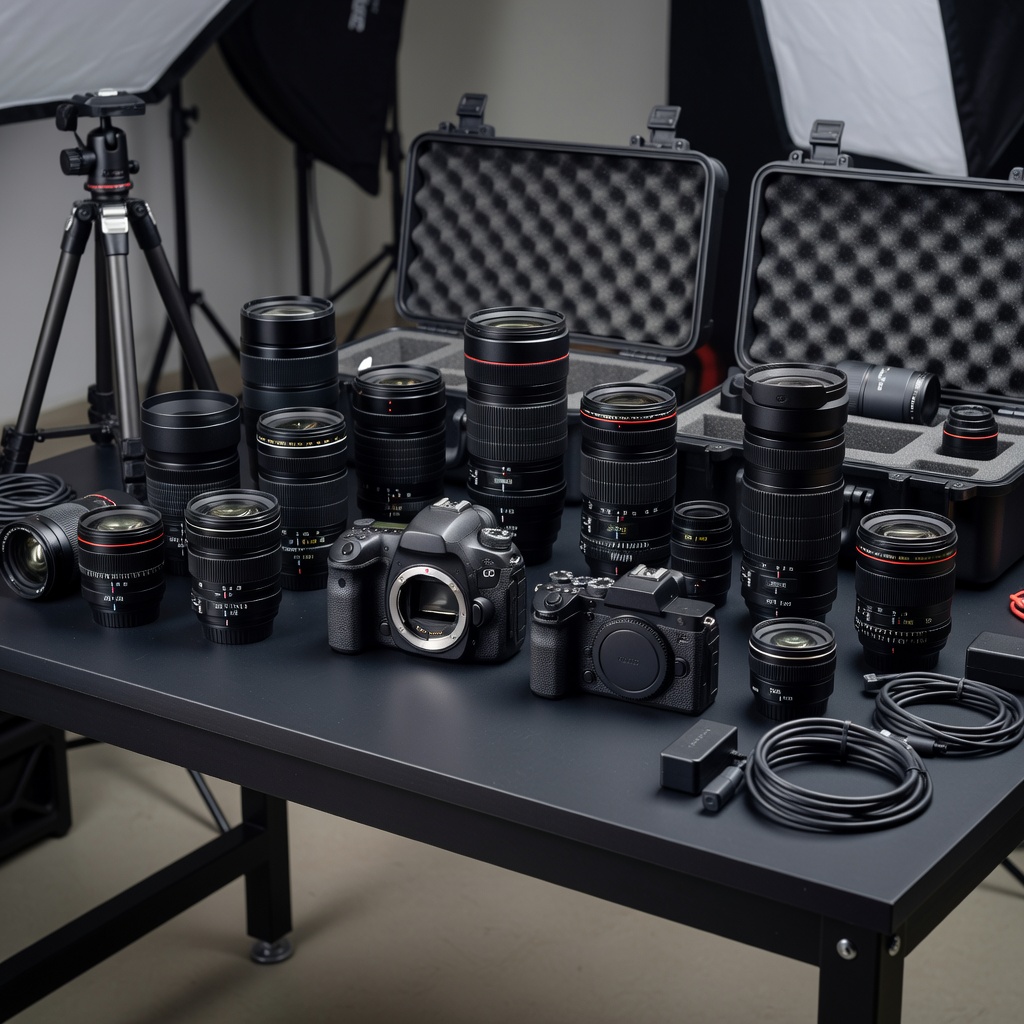
Choose the Right Gear for Your Photography Journey
As we explored in the previous lesson, photography is the art of capturing light. But to capture that light effectively, you need the right tools. In this lesson, we will dive deep into the world of cameras and lenses — understanding the differences between camera types, sensor sizes, and lens categories so you can make informed decisions about your gear.
Whether you are just starting or looking to upgrade, understanding these fundamentals will save you money and frustration. Let us begin!
1. Camera Types: Finding Your Perfect Match
DSLR (Digital Single-Lens Reflex)
DSLRs use a mirror and prism system to direct light from the lens to an optical viewfinder. When you press the shutter, the mirror flips up to expose the sensor.
Pros:
- Optical viewfinder shows exactly what the lens sees
- Massive lens libraries (especially Canon and Nikon)
- Excellent battery life (1000+ shots per charge)
- Generally lower cost for equivalent quality
Cons:
Best for: Beginners on budget, sports/wildlife photographers who need long telephoto lenses, anyone who prefers optical viewfinders.
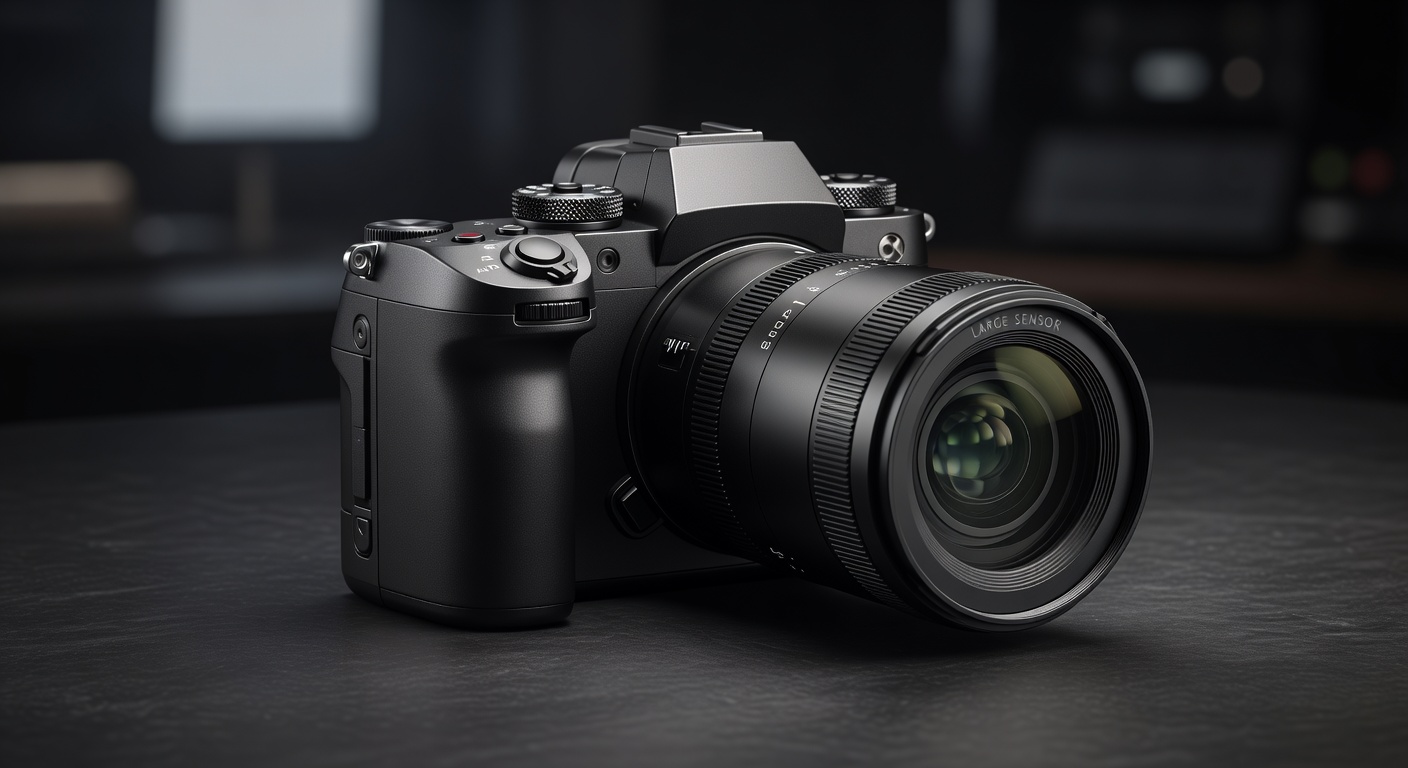
Mirrorless
Mirrorless cameras lack the mirror mechanism entirely. Light goes directly to the sensor, which feeds a digital viewfinder (EVF) or the rear LCD screen.
Pros:
- Smaller and lighter than DSLRs
- Silent shooting (no mirror slap)
- Real-time exposure preview in viewfinder
- Better video capabilities (no mirror blocking light path)
- Faster burst rates (no mirror to move)
Cons:
Best for: Travel photographers, videographers, anyone wanting compact gear without sacrificing quality.
Compact Cameras (Point-and-Shoot)
Fixed-lens cameras with built-in, non-removable optics. Range from basic to advanced.
Pros:
- Ultra-portable — fits in pocket
- No lens changing (dust-free)
- Simple to use
- Some offer excellent image quality (Sony RX100 series)
Cons:
Best for: Everyday carry, travel when weight matters, beginners wanting simplicity.
Smartphone Cameras
Modern smartphones have revolutionized photography. Computational AI enhances what small sensors cannot capture naturally.
Pros:
- Always with you
- AI-assisted shooting modes
- Instant sharing to social media
- Low cost (already own one)
Cons:
Best for: Casual photography, social media content, everyday documentation.
Medium Format
Professional cameras with sensors significantly larger than full-frame (44x33mm or 53x40mm).
Pros:
- Exceptional detail and dynamic range
- Shallower depth of field natively
- Commercial/advertising quality
Cons:
Best for: Commercial fashion, fine art, architecture photographers who need ultimate quality.
2. Understanding Sensor Sizes
The sensor is the digital film — its size dramatically affects image quality, depth of field, and field of view.
Full Frame (36x24mm)
Same size as 35mm film. The industry standard for professional photography.
Characteristics:
- Best low-light performance
- Shallowest depth of field
- Widest field of view for any given lens
- Most expensive
APS-C (约23x15mm)
Crop sensor, 1.5x-1.6x crop factor. Canon uses 1.6x, Nikon/Sony use 1.5x.
Characteristics:
- Good balance of quality and cost
- Smaller, lighter bodies and lenses
- Effective focal length increases (200mm lens = 300mm equivalent)
- Excellent for wildlife/sports (extra reach)
Micro Four Thirds (17x13mm)
Used by Olympus and Panasonic. 2x crop factor.
Characteristics:
- Most compact system camera option
- Excellent stabilization (often in-body)
- Smaller lenses available
- Great for travel
1-inch Sensor (13x9mm)
Common in high-end compacts and some smartphones.
Characteristics:
- Portable convenience
- Better than smaller smartphone sensors
- Limited low-light capability
3. Lens Basics: Focal Length and Type
Focal Length: The Zoom Factor
Focal length, measured in millimeters, determines the field of view and magnification. Importantly, it does not describe zoom — rather, the angle of view.
- 14-24mm (Ultra Wide): Landscapes, architecture, interiors
- 24-35mm (Wide): Street, travel, environmental portraits
- 50mm (Standard): The “nifty fifty” — natural perspective, versatile
- 85-135mm (Short Telephoto): Portraits with flattering compression
- 200mm+ (Telephoto): Sports, wildlife, distant subjects
Prime vs. Zoom Lenses
Prime lenses have a fixed focal length (50mm only, 85mm only). They typically offer:
- Wider maximum apertures (f/1.4, f/1.8)
- Sharper images
- Lighter weight
- Forced creativity (you move to frame)
Zoom lenses cover a range (24-70mm). They offer:
- Versatility (one lens for many situations)
- Convenience (no lens changes)
- Compromise on maximum aperture
4. Common Lens Types
Standard Zoom (24-70mm, 24-105mm)
The workhorse. Covers wide to short telephoto. Perfect for almost any situation.
Example: 24-70mm f/2.8 — wedding, events, travel. One lens does everything.
Wide-Angle Zoom (16-35mm, 14-24mm)
Captures expansive scenes. Essential for landscapes, architecture, interiors.
Example: 16-35mm f/2.8 — dramatic landscapes, starry skies.
Telephoto Zoom (70-200mm)
Brings distant subjects closer. Essential for sports, wildlife, events.
Example: 70-200mm f/2.8 — NFL games, wildlife, moon shots.
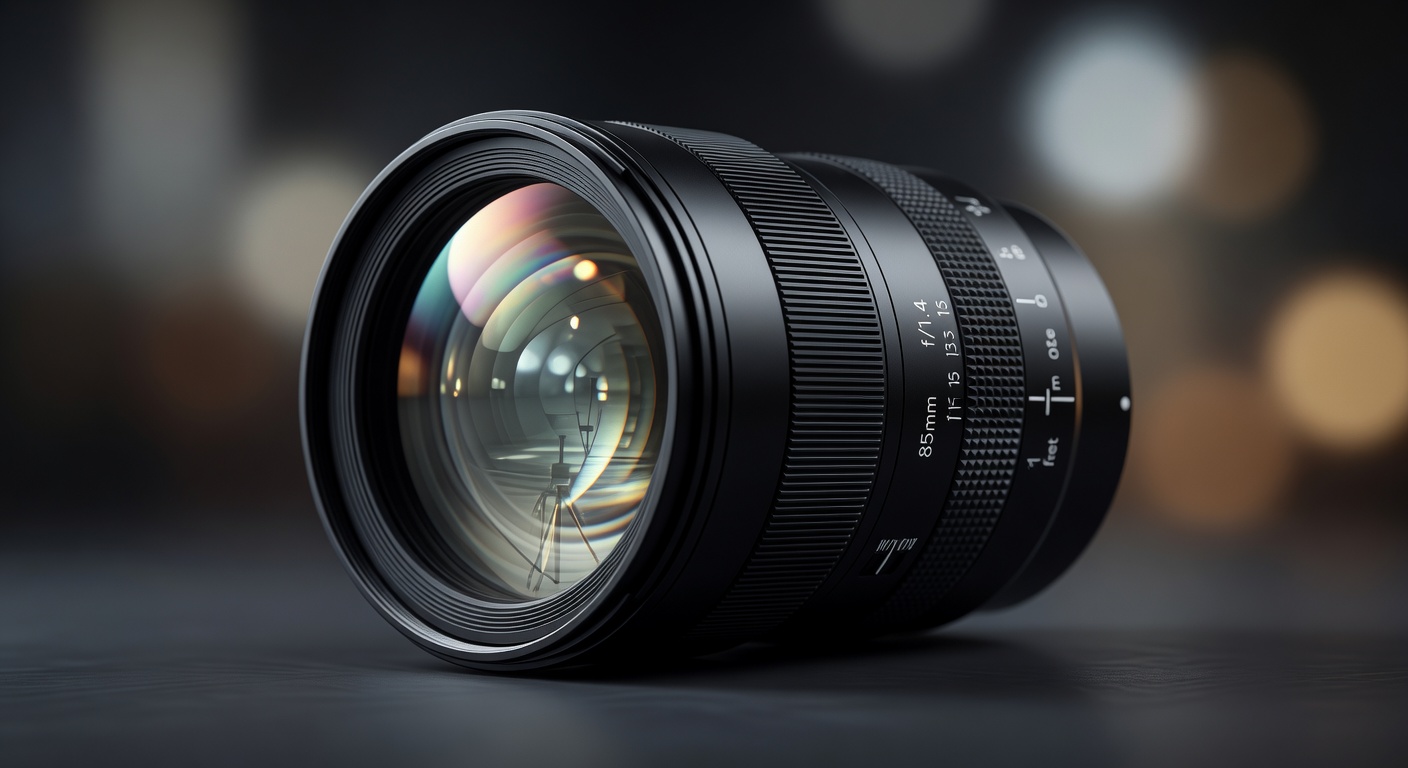
Prime Lenses (50mm, 85mm)
Fixed focal length with wide apertures. Excellent for low light and portraits.
Example: 85mm f/1.4 — creamy bokeh, flattering for portraits.
Macro Lenses
Extreme close-up capability (1:1 reproduction). For insects, jewelry, food photography.
Example: 100mm macro — reveals dew on spiderwebs in extreme detail.
Fisheye Lenses (8-15mm)
Ultra-wide with distinctive barrel distortion. Creative and fun.
Example: Skate parks, creative architecture, dynamic action shots.
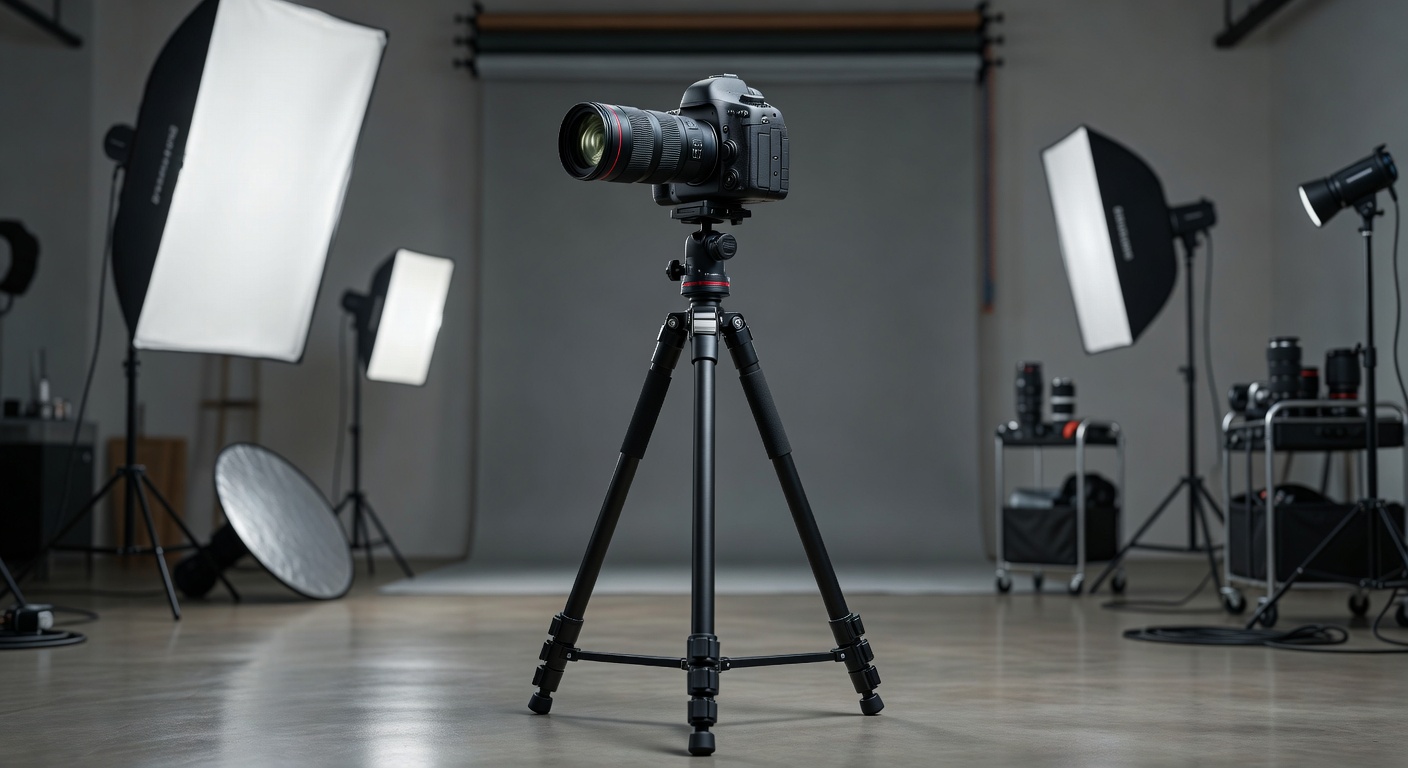
5. How to Choose Your First Camera and Lens
Budget smartly. Here is a practical approach:
Step 1: Define Your Style
- Portraits/events: Full frame or APS-C mirrorless
- Travel/sports: Cropped sensor with good zoom
- Casual/daily: Quality compact or smartphone
Step 2: Test Before You Buy
Visit a store. Hold the camera. Check ergonomics. Try different lenses. Many camera stores allow test drives.
Step 3: Start with a Kit Lens
Most cameras come with a kit zoom (18-55mm or 16-50mm). This is perfect for learning — versatile and affordable.
Step 4: Add a Prime Lens
After mastering your kit, add a 50mm f/1.8. This “nifty fifty” teaches you to see differently and excels in low light.
Real Beginner Builds
- Ultra-Budget ($400): Used Canon EOS Rebel T7 + 18-55mm kit lens. Learn the basics without breaking the bank.
- Sweet Spot ($1000): Sony A6400 + 16-50mm. Excellent autofocus, flip screen for vlogging.
- Pro-ish ($2000): Nikon Z6 II + 24-70mm. Full frame entry with professional build quality.
Conclusion: Gear Serves Your Vision
Remember: the best camera is the one you have with you, and the best lens is the one that helps you tell your story. In our next lesson, we will explore the difference between digital and film photography — understanding the roots of our craft while looking forward to the future.
Start with whatever gear you have. Master the exposure triangle (which we covered in Chapter 2). The photographer makes the photo, not the equipment.
Ready to continue? Head to the next lesson to explore the fascinating world of film photography and how it informs digital techniques today.