Master the Foundation of Every Great Photograph
Welcome to your first real photography lesson! Before you can capture stunning images, you need to understand the three pillars of exposure: aperture, shutter speed, and ISO. Together, these three elements form what photographers call the “Exposure Triangle” — and mastering it will transform your photography forever.
Whether you are shooting with a professional DSLR, a mirrorless camera, or even a smartphone with manual controls, these concepts apply universally. Let us dive in.
What is Exposure?
Exposure refers to how light or dark your photograph appears. A properly exposed image has detail in both shadows and highlights. Too much light and your image looks washed out (overexposed). Too little and it is too dark (underexposed).
In film photography, you had exactly 24 or 36 shots per roll — so every exposure counted. Today, digital cameras give you thousands of shots, but the principle remains the same: you control the light.
The Three Pillars
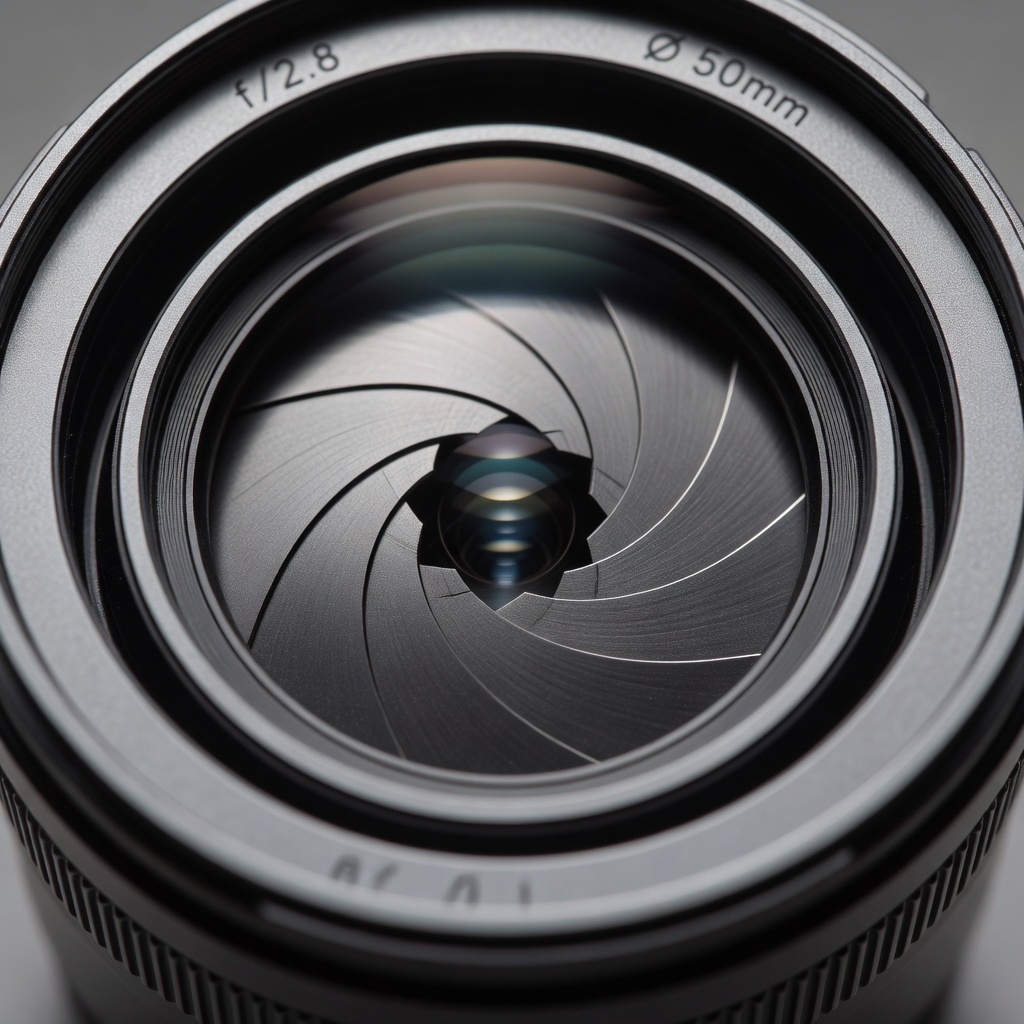
1. Aperture: Controlling Light and Depth
Aperture is the opening in your lens that lets light in. It is measured in f-stops (f/1.4, f/2.8, f/5.6, f/11, etc.). Here is the counterintuitive part: smaller numbers mean larger openings.
- f/1.4 – f/2.8: Wide aperture, lots of light, shallow depth of field (blurry background)
- f/5.6 – f/8: Medium aperture, balanced exposure, moderate depth of field
- f/11 – f/22: Small aperture, less light, deep depth of field (everything in focus)
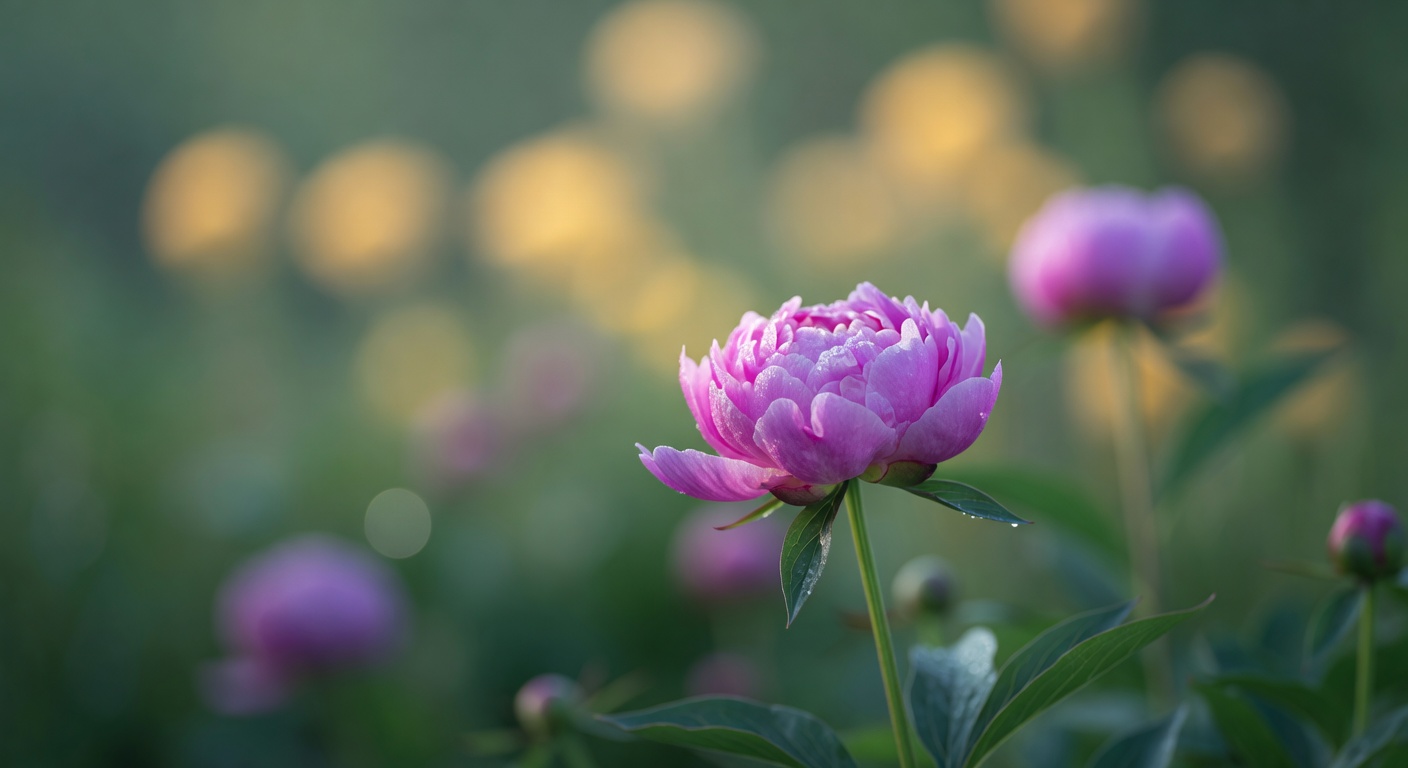
Why does this matter? Wide apertures (low f-numbers) create that beautiful “bokeh” — that creamy, blurred background that makes portraits pop. Narrow apertures keep everything sharp, perfect for landscapes.
2. Shutter Speed: Capturing or Freezing Time
Shutter speed determines how long your sensor is exposed to light. It is measured in fractions of a second (1/1000s, 1/250s, 1/60s, 1s, 30s).
- 1/1000s and faster: Freezes fast action — sports, birds, droplets
- 1/250s – 1/500s: Good for everyday subjects, walking people
- 1/60s – 1/125s: Minimum for handheld shooting without blur
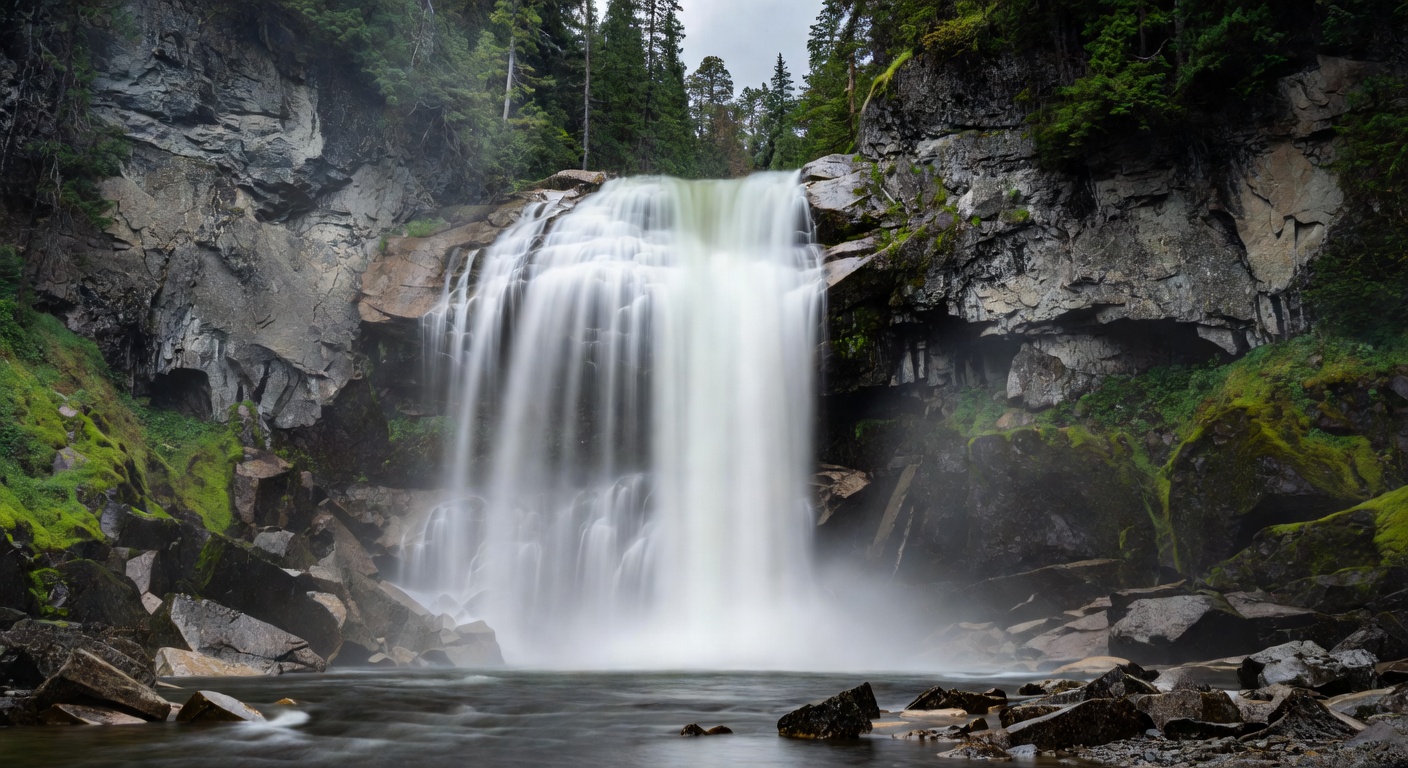
- 1s and longer: Creative blur, night photography, light trails
Pro tip: The handheld rule — your shutter speed should be at least 1/(focal length). With a 50mm lens, shoot no slower than 1/50s. With a 200mm telephoto, you need 1/200s or faster!
3. ISO: Your Sensor Sensitivity
ISO measures how sensitive your camera sensor is to light. Higher ISO lets you shoot in darker conditions, but comes with a cost — noise (grain).
- ISO 100-200: Cleanest images, use in bright sunlight
- ISO 400-800: Indoor lighting, overcast days
- ISO 1600-3200: Low light, evening shoots
- ISO 6400+: Dark conditions, last resort — expect noise
The modern advantage: Newer cameras handle high ISO much better. A modern full-frame camera at ISO 3200 looks cleaner than older cameras at ISO 800.
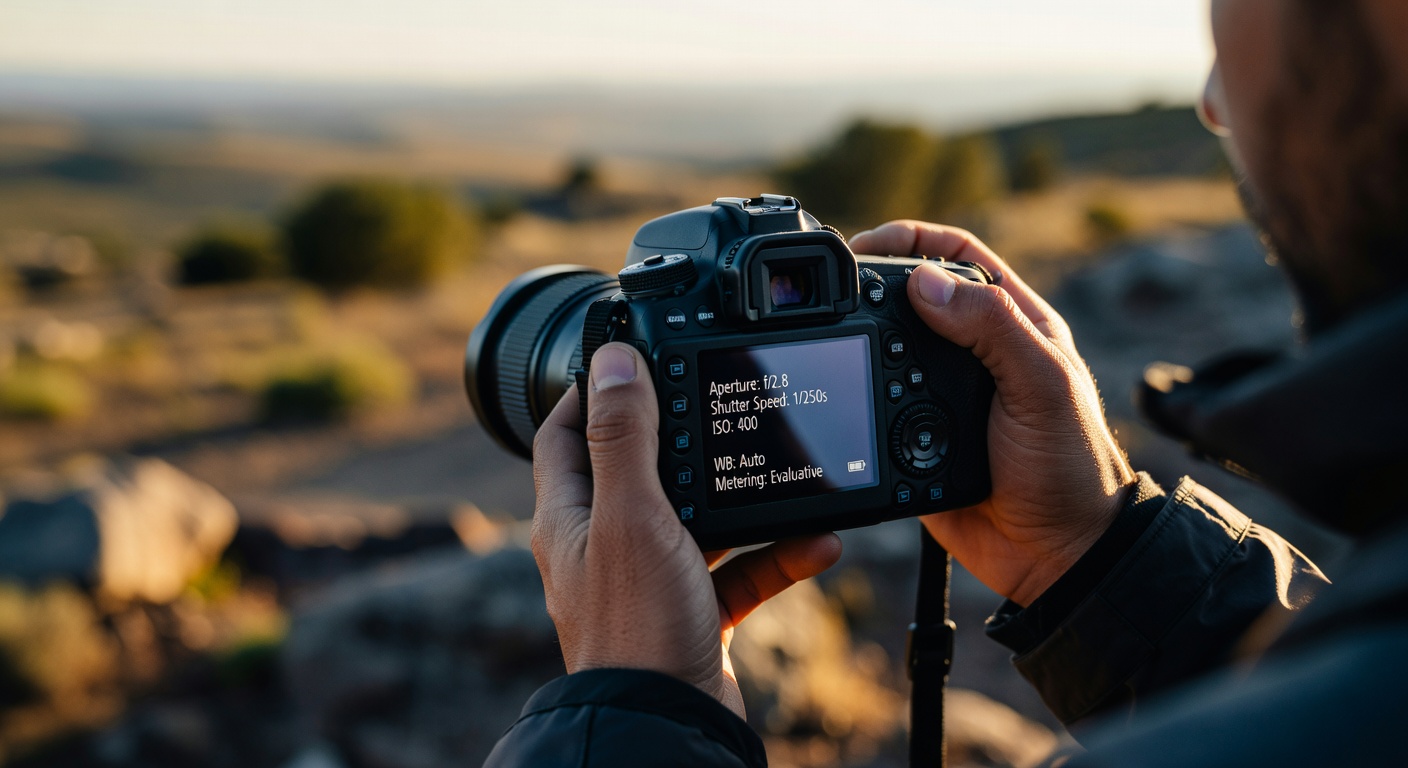
How They Work Together
Here is the beautiful part: these three elements trade off against each other. If you close your aperture (higher f-number), you can either slow down shutter speed or increase ISO to compensate. This is called equivalent exposures.
Example: f/2.8 at 1/500s at ISO 200 gives the same exposure as f/5.6 at 1/125s at ISO 200, or f/11 at 1/30s at ISO 200.
But each combination gives a different image:
- f/2.8 + 1/500s = Shallow DoF, frozen action
- f/11 + 1/30s = Deep DoF, potential blur
Choose based on your creative vision, not just meter!
Practical Exercises
Now it is time to practice! Here are four exercises to build your skills:
Exercise 1: Aperture DoF Drill (30 minutes)
- Find a subject (flower, coffee mug) with background 2-3 meters away
- Set ISO 100, Shutter 1/250s
- Shoot at f/2.8, f/5.6, f/11, f/16
- Compare the background blur in each shot
Exercise 2: Shutter Speed Motion Hunt (45 minutes)
- Find moving water, swinging object, or someone walking
- Set ISO 200, f/5.6
- Shoot at 1/1000s, 1/250s, 1/60s, 1 second
- See how motion changes!
Exercise 3: ISO Low-Light Challenge (20 minutes)
- Find a dim room
- Set f/4, 1/60s (use tripod if needed)
- Shoot at ISO 100, 400, 800, 1600, 3200
- Compare the noise levels
Exercise 4: Full Triangle Scenarios (1 hour)
Try these four situations:
- Landscape: f/11, 1/125s, ISO 100
- Action: f/5.6, 1/1000s, ISO 400
- Portrait: f/2.8, 1/250s, ISO 200
- Night street: f/5.6, 1/30s, ISO 1600
Weekly Challenge
For one week, shoot only in Manual mode. Write down your settings for every shot. Notice how conditions change and how you adapt. Share your results on social media and tag a pro for feedback!
Your Next Step
You now have the foundation. In the next lesson, we will explore how to compose compelling images using the Rule of Thirds, leading lines, and other compositional techniques that transform ordinary snapshots into works of art.
Grab your camera, practice these exercises, and see the difference understanding the Exposure Triangle makes!