From Capture to Masterpiece: The Essential Editing Guide
Congratulations on mastering exposure, composition, and lighting! Your camera skills are solid. Now comes post-processing — where good images become great ones. This lesson explores editing software options, RAW vs JPEG workflows, and essential techniques every photographer needs.
Editing is not about perfection — it is about storytelling, mood, and polish. Let us dive in.
1. RAW vs JPEG Workflow
JPEG (Compressed)
Your camera processes RAW data and outputs finished JPEG.
Pros:
- Small files
- Ready to share/print
- Fast workflow
Cons:
- Limited editing flexibility
- Baked-in processing decisions
- Quality loss with heavy editing
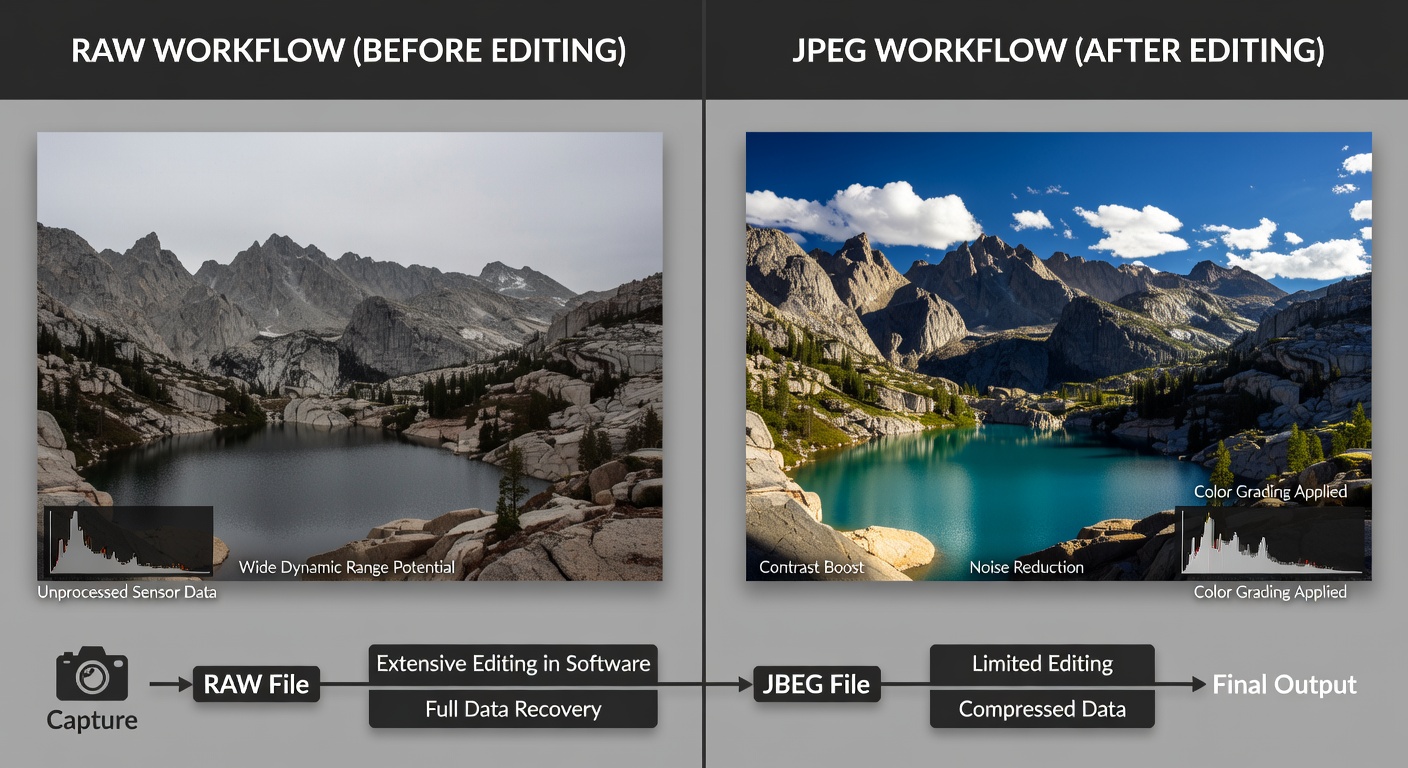
RAW (Unprocessed)
Unprocessed sensor data containing maximum information.
Pros:
- Maximum editing flexibility
- Recover highlights/shadows
- Adjust white balance freely
- Non-destructive editing
Cons:
- Large files (30-100MB each)
- Requires editing software
- Slower workflow
Pro tip: Shoot RAW + JPEG. Use JPEG for quick review, RAW for editing.
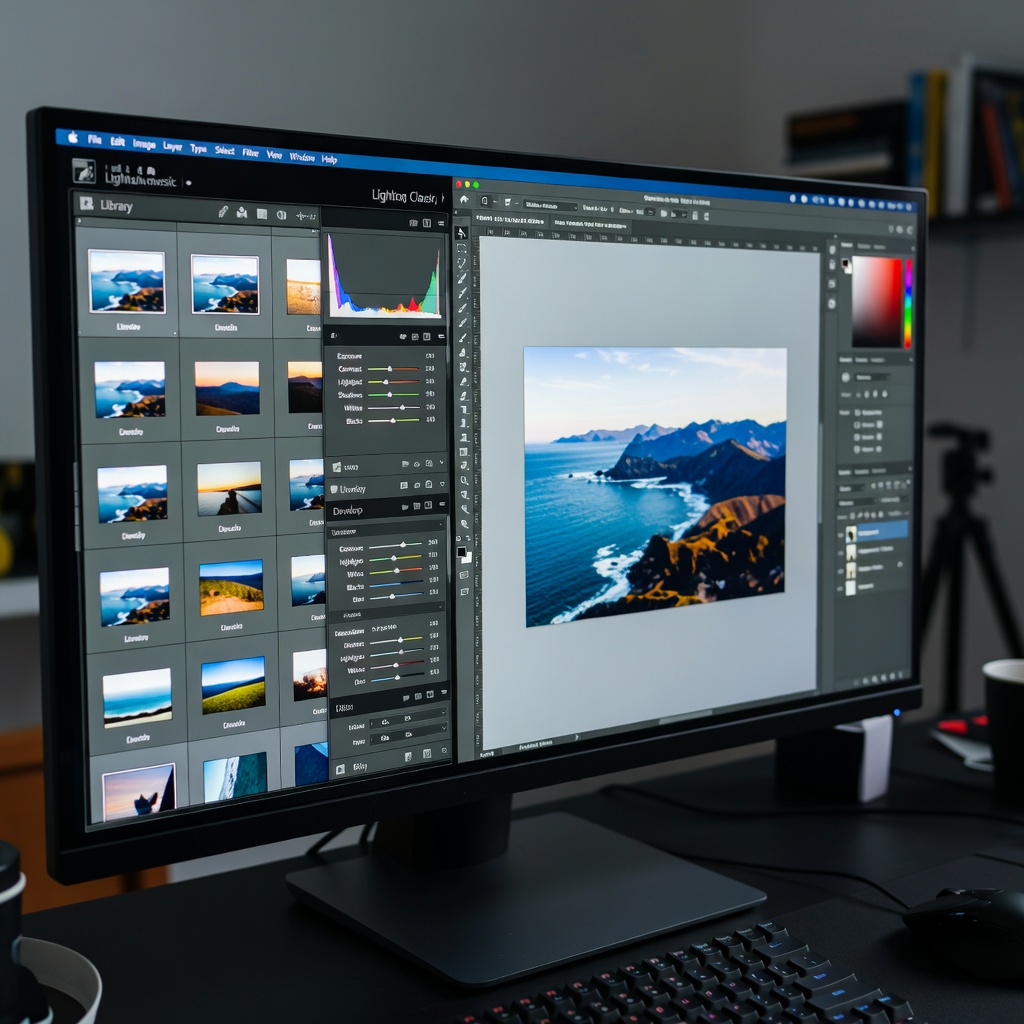
2. Professional Software Comparison
Lightroom Classic (Adobe, $10/month)
The industry standard for photo organization and batch editing.
Strengths:
- Best cataloging/organization
- Non-destructive editing
- Batch processing power
- Cloud sync option

Lightroom CC (Cloud)
Mobile-first, simplified interface.
Strengths: Cross-device sync, AI editing features.
Capture One ($299 one-time)
Professional choice for studio/tethering.
Strengths: Superior RAW conversion, color grading, tethered shooting.
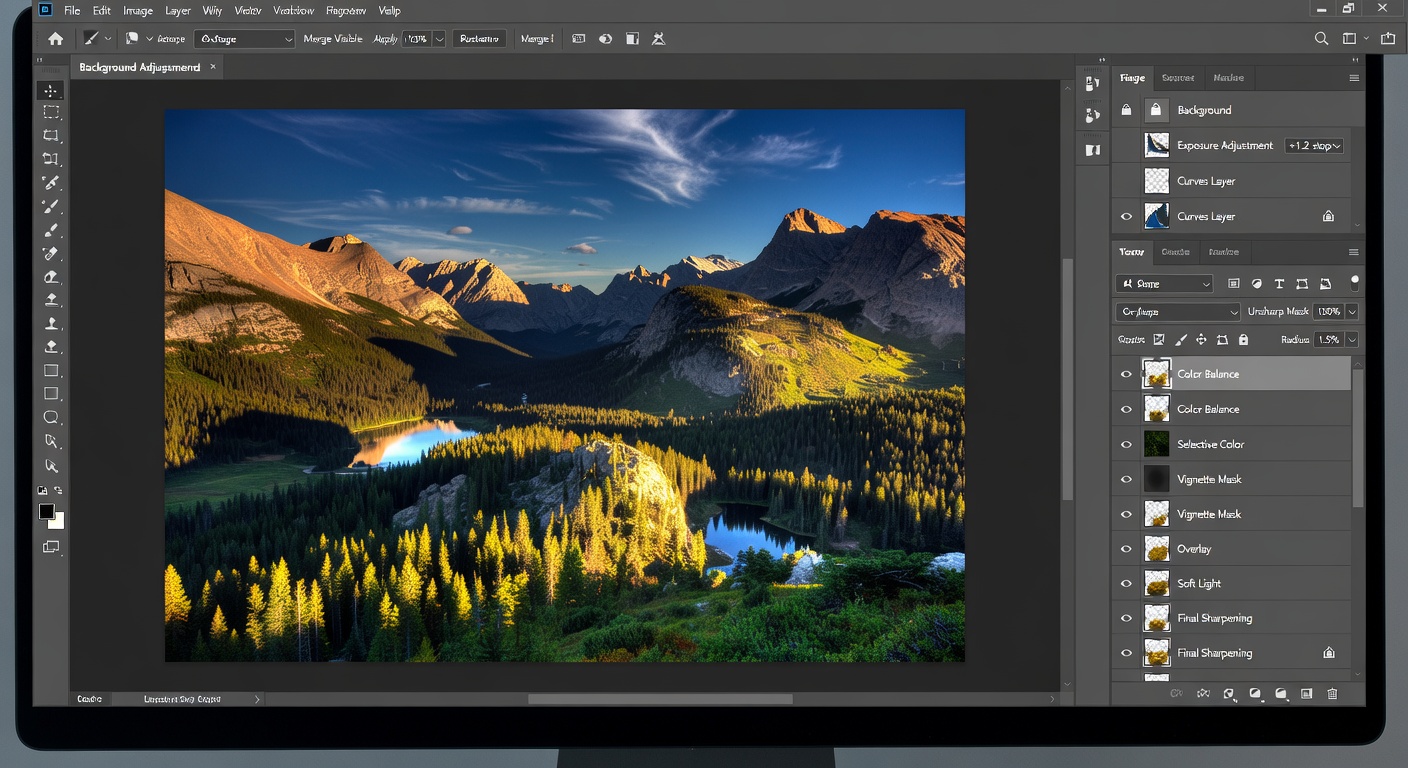
Photoshop ($10/month)
Pixel-level editing powerhouse.
Strengths: Retouching, compositing, advanced effects.
3. Free Alternatives
Darktable (Free, Open Source)
Lightroom-like workflow.
Strengths: Powerful masking, lens correction, non-destructive.
RawTherapee (Free, Open Source)
Advanced RAW processing.
Strengths: Wavelet denoising, advanced color tools.
GIMP (Free Photoshop Alternative)
Layer-based editing.
Strengths: Free Photoshop replacement, plugins galore.
4. Essential Editing Workflow
Step 1: Import and Cull
Import to catalog. Rate 1-5 stars, reject obvious failures (blinks, bad angles).
Pro tip: 1st pass: Delete 70%. 2nd pass: Flag keepers.
Step 2: Basic Adjustments
- Lens corrections: Distortion, vignetting, chromatic aberration
- White balance: Eyedropper on neutral gray
- Exposure: Histogram-based correction
- Cropping: Rule of Thirds, straighten
Step 3: Tone and Color
- Highlights/Shadows: Recover detail
- Contrast/Clarity: Add punch
- Color grading: Subtle adjustments
Step 4: Local Adjustments
- Dodge/Burn: Selective brightening/darkening
- Radial/Graduated filters: Sky enhancement, vignette
- Spot removal: Clean distractions
Step 5: Creative Touches
- Grain: Film look
- Vignette: Focus attention
- Sharpening: Output sharpening only
Step 6: Export
For web: sRGB, 72-96 DPI, 80-90% quality JPEG
For print: Adobe RGB, 300 DPI, TIFF or max quality JPEG
5. Computer Specs Needed
Minimum
- 8GB RAM
- SSD storage (500GB minimum)
- Intel i5 or AMD equivalent
- 1920×1080 display
Recommended
- 32GB RAM
- 1TB NVMe SSD
- Intel i7/i9 or AMD Ryzen 7/9
- 4K display with 100% Adobe RGB
Storage Strategy
Rule of thumb: 3TB per year for serious hobbyist (RAW + JPEG + video).
Workflow: External SSD for working files → NAS/cloud for archive → External HDD for long-term.
6. Cloud vs Local Storage
Cloud (Lightroom CC)
Pros: Access anywhere, auto backup, AI features.
Cons: Upload times, subscription, internet dependency.
Local (Lightroom Classic)
Pros: Faster, no internet needed, full control.
Cons: Manual backup required.
Hybrid Approach
Local editing + cloud backup = best of both worlds.
7. Practical Exercises
Exercise 1: RAW Rescue Challenge
Download sample RAW files. Recover blown highlights, lift shadows, fix white balance. Compare to JPEG version.
Exercise 2: Batch Wedding Workflow
Download 100+ image set. Cull to top 20, sync basic adjustments, export for web/print.
Exercise 3: Color Grading Landscapes
5 landscape RAWs. Create different moods: cinematic, vibrant, black & white.
Exercise 4: Free Software Test Drive
Same 10 images in Darktable AND RawTherapee. Note differences in speed/quality.
Exercise 5: Lightroom to Photoshop Roundtrip
Portrait RAW → Lightroom (exposure/color) → Photoshop (retouching) → back to Lightroom (final adjustments).
Conclusion: Your Editing Journey Begins
Editing software is your darkroom. RAW files give you flexibility, Lightroom organizes your workflow, Photoshop handles precision work, and free alternatives make it accessible.
Start simple: RAW + Lightroom trial + essential workflow. Master these fundamentals before chasing advanced techniques.
In our next lesson, we will explore basic editing techniques — the specific adjustments that polish your images without overcooking them.
Your assignment: Process 50 images from your recent shoots using the workflow above. Notice how much better your keepers look.