Master Your Camera’s Mode Dial
In our previous lessons, we explored the Exposure Triangle (aperture, shutter speed, ISO) in depth. Now it is time to learn how to actually use those settings in practice. Understanding the different camera modes — and when to use each — is the bridge between knowing the theory and capturing great images consistently.
Let us explore every mode from Auto to Manual, helping you choose the right tool for every situation.
1. Understanding Camera Modes
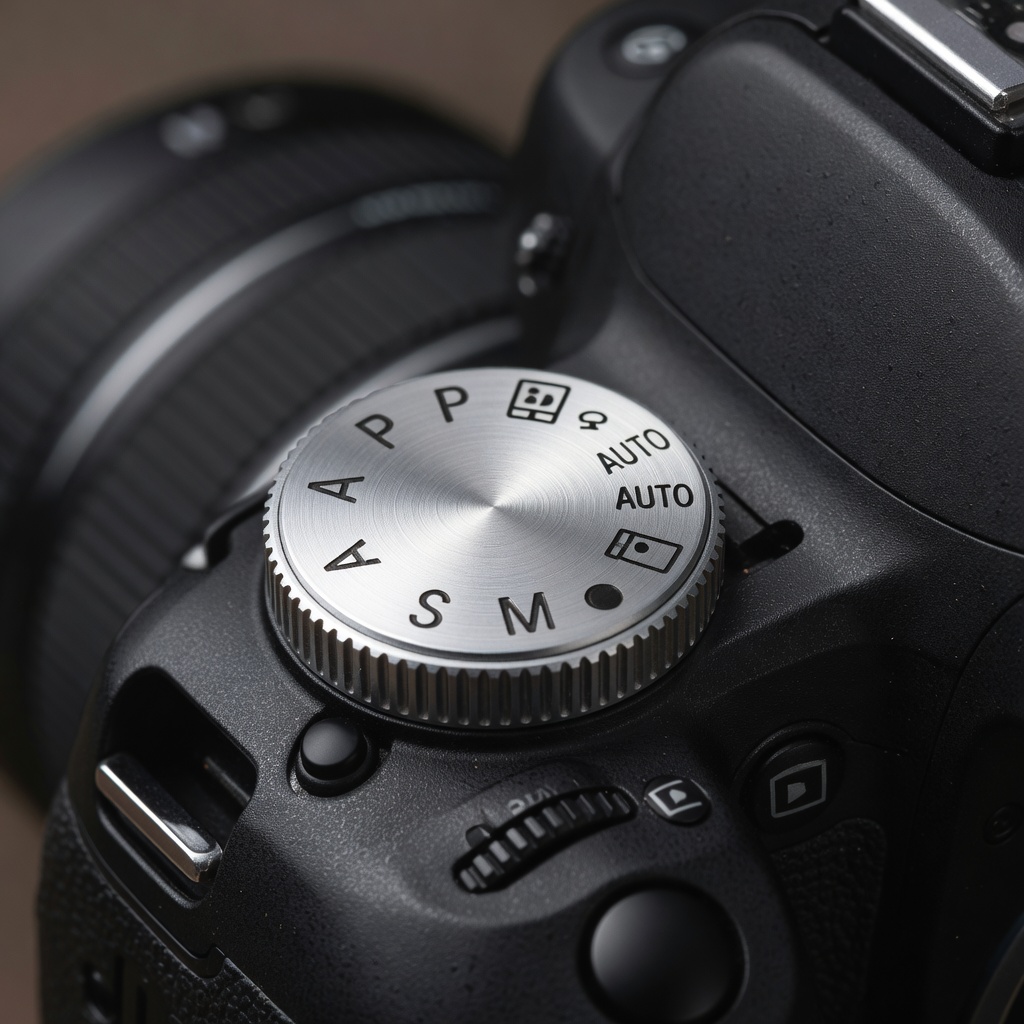
Your camera offers several shooting modes, typically accessed through a dial labeled with letters or symbols. Each mode gives you varying degrees of control over the exposure triangle.
Auto Mode (Green Square)
The camera controls everything: aperture, shutter speed, ISO, white balance, focus mode, and flash.
Best for:
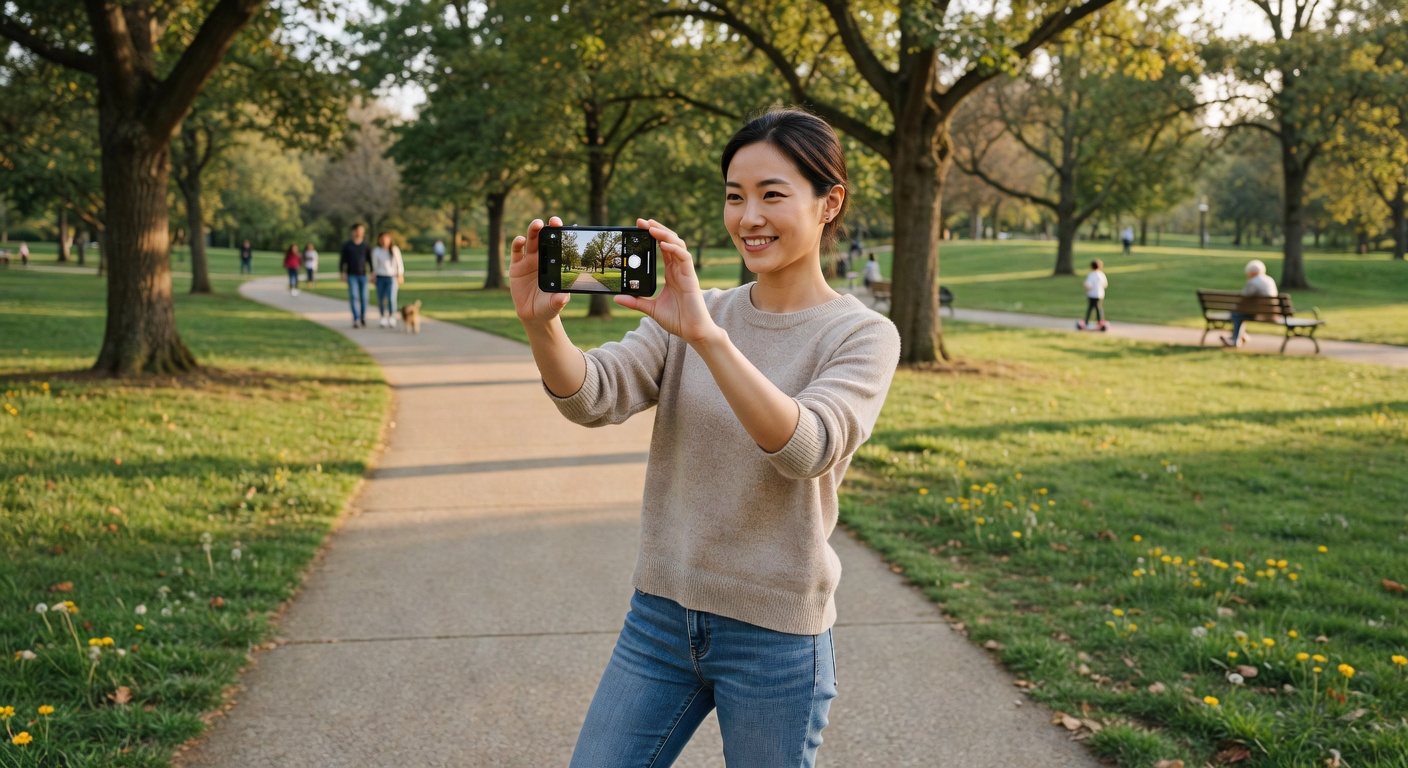
- Quick snapshots
- Complete beginners
- Situations where you have no time to adjust settings
- Documentary/family photography where capturing the moment matters most
Limitations:
- Camera guesses — may not match your creative vision
- Flash often fires when you do not want it
- Cannot control depth of field
- Cannot intentionally blur motion
Program Mode (P)
Camera sets aperture and shutter speed automatically, but you control ISO, white balance, exposure compensation, and sometimes other settings.
Best for:
- Stepping up from Auto
- When you want some control but not full manual
- Learning how settings affect images while having a safety net
Advantages over Auto:
- You control ISO (critical for image quality)
- Exposure compensation lets you override meter
- White balance control for accurate colors
Aperture Priority (A or Av)
You set aperture; the camera automatically selects the appropriate shutter speed. This is the most popular mode among serious photographers.
You control: Aperture (directly affecting depth of field)
Camera controls: Shutter speed
Best for:
- Portrait photography (wide aperture for bokeh)
- Landscape photography (narrow aperture for sharpness)
- Any situation where depth of field matters most
- Studio work
Why it works: You decide how much of your scene is in focus; the camera ensures proper exposure.
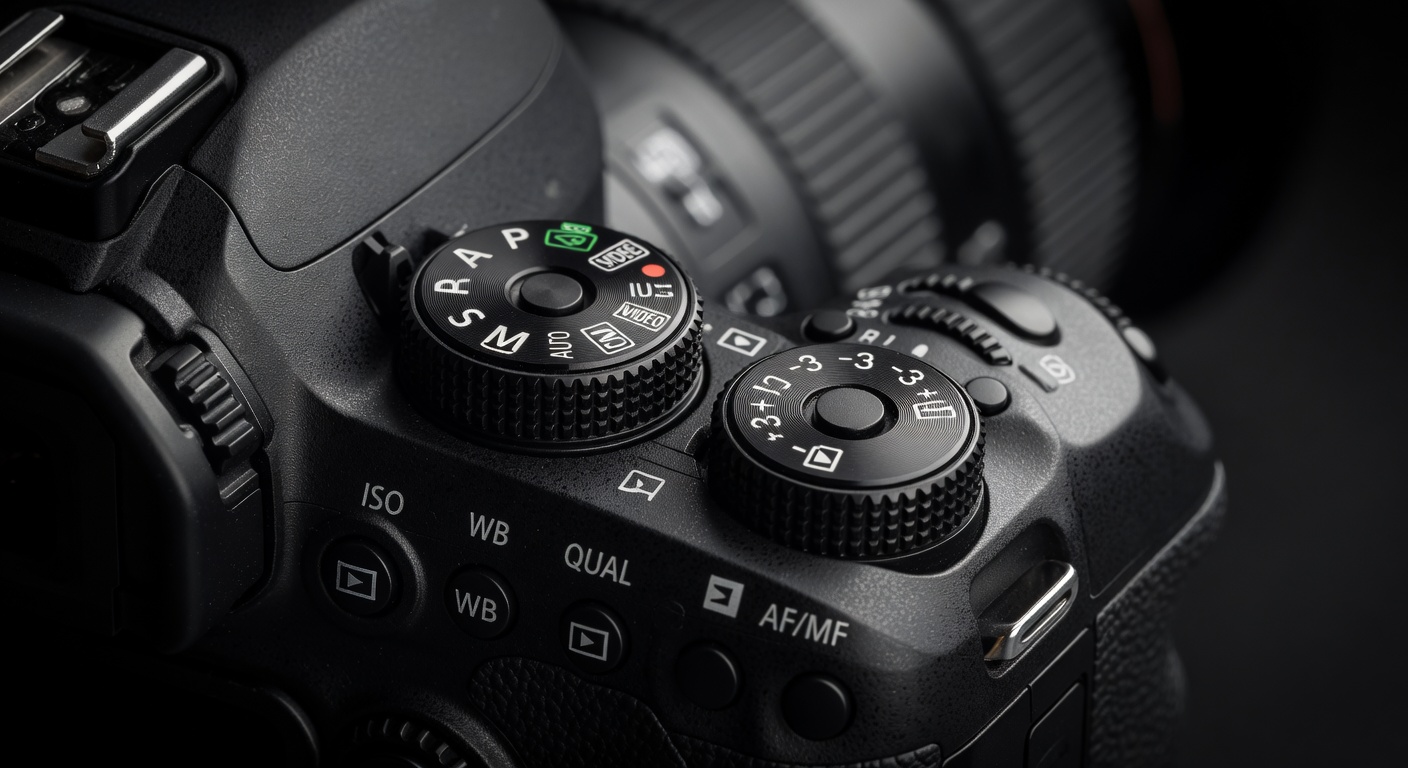
Shutter Priority (S or Tv)
You set shutter speed; the camera automatically selects the appropriate aperture.
You control: Shutter speed (directly affecting motion blur)
Camera controls: Aperture
Best for:
- Sports and action photography (fast shutter to freeze motion)
- Wildlife photography
- Intentional motion blur (slow shutter for creative effects)
- Any situation where controlling motion matters most
Why it works: You decide whether to freeze or blur motion; the camera ensures proper exposure.
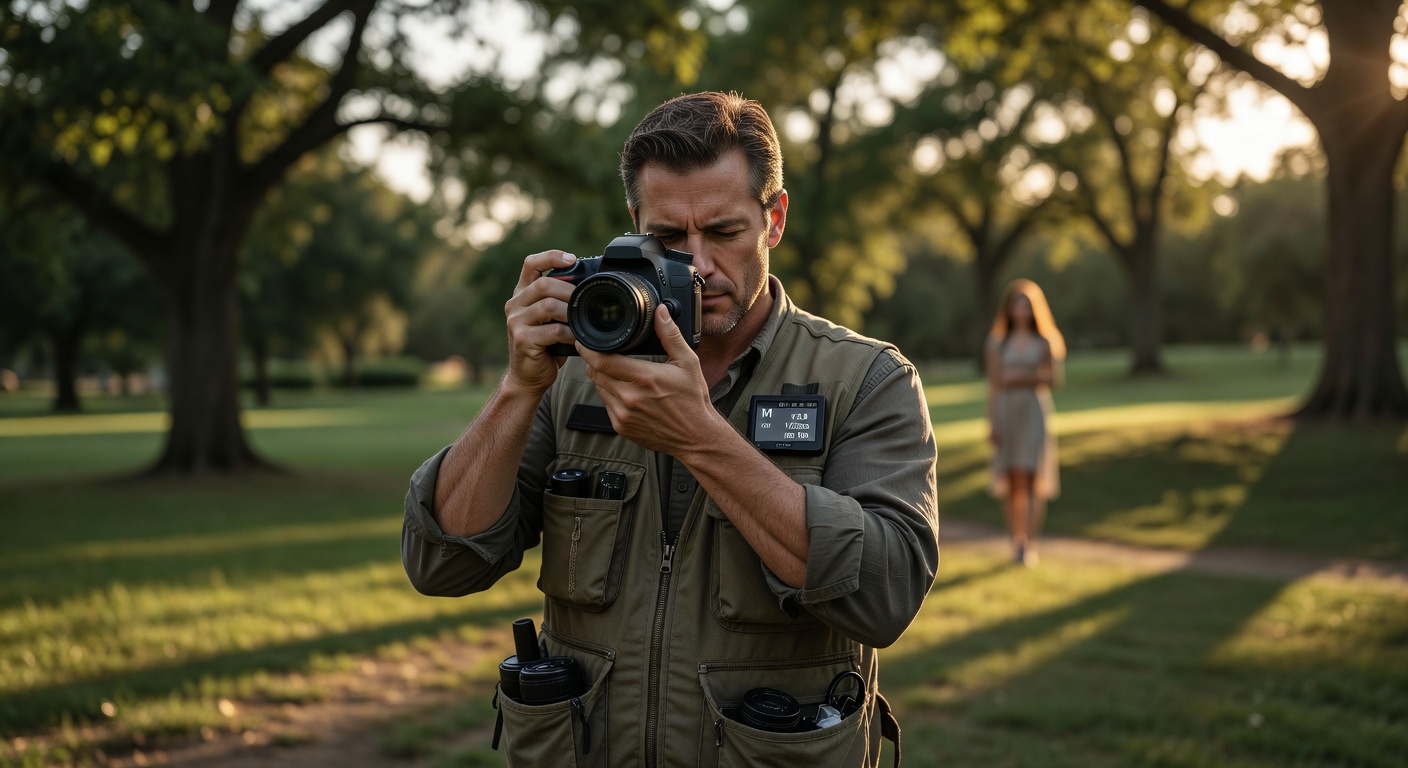
Manual Mode (M)
You control every setting: aperture, shutter speed, and ISO. The camera meter provides information, but you make all decisions.
You control: Everything
Camera provides: Meter reading only
Best for:
- Studio photography with controlled lighting
- Consistent exposures across multiple shots
- Learning exposure (teaches the most)
- Situations with tricky lighting where meters fail
- When using flash (especially studio strobes)
Why it works: Total creative control — every image matches your exact vision.
2. When to Use Each Mode
| Mode | Situation | Why |
|---|---|---|
| Auto | Family events, quick snaps | Capture moment without thinking |
| P | Learning transition | Some control, some safety |
| A/Av | Portraits, landscapes | Control depth of field |
| S/Tv | Sports, wildlife, motion | Control motion blur |
| M | Studio, consistent series | Full control |
3. Real-World Scenarios
Scenario 1: Outdoor Portrait
Mode: Aperture Priority (A/Av)
Settings: f/2.8 (shallow DoF), ISO 100 (base), let shutter fall where it may
Why: You want creamy bokeh. Shutter speed (likely 1/1000-1/2000) is more than fast enough for handheld. Do not waste time adjusting shutter — aperture is your creative control.
Scenario 2: Sports Photography
Mode: Shutter Priority (S/Tv)
Settings: 1/1000s (freeze action), ISO auto (with ceiling), let aperture fall where it may
Why: Missing the peak action moment is worse than imperfect depth of field. You need to stop motion; the camera will open aperture as needed. If light is low, raise ISO ceiling.
Scenario 3: Studio Portrait with Flash
Mode: Manual (M)
Settings: 1/200s (sync speed), f/8 (sharpness), ISO 100, adjust flash power for correct exposure
Why: With studio lighting, shutter speed does not affect ambient (flash provides all light). Aperture affects flash exposure. You set everything once and maintain consistency across hundreds of shots.
Scenario 4: Golden Hour Landscape
Mode: Aperture Priority (A/Av)
Settings: f/11-f/16 (deep DoF), ISO 100, let shutter fall
Why: You want everything sharp front to back. Use tripod if shutter drops below 1/focal length. Let camera handle shutter speed — aperture is your priority.
Scenario 5: Intentional Long Exposure
Mode: Manual (M)
Settings: f/16 (small aperture), 30s (slow shutter), ISO 100, ND filter
Why: Creating silky water or star trails requires specific combinations auto modes cannot handle. Bulb mode for exposures longer than 30 seconds.
4. Why Learn Manual First
Many experts recommend learning Manual mode first, even before using Auto. Here is why:
Understanding Through Struggle
Using Manual mode forces you to understand the Exposure Triangle deeply. When your images are too dark or too bright, you must diagnose why — and that builds lasting knowledge.
Breaking Dependency
If you rely on Auto, you never learn how settings interact. In Manual, you cannot hide from the consequences of your choices — which accelerates learning dramatically.
Confidence Building
When you can shoot in Manual comfortably, every other mode becomes a shortcut you choose consciously. You are not a slave to Auto — you use it when appropriate.
Creative Freedom
Manual mode enables techniques impossible in Auto or Program: precise exposures for HDR, consistent series for composites, flash photography, and intentional underexposure/overexposure.
5. Transitioning from Auto to Manual
Here is a progression path:
Week 1-2: Program Mode
- Use Program but manually set ISO
- Enable exposure compensation
- Practice overriding camera choices
Week 3-4: Aperture Priority
- Focus on aperture control
- Watch how shutter speed changes with aperture
- Start noticing patterns
Week 5-6: Shutter Priority
- Try sports/action scenarios
- Appreciate when shutter matters more
- Develop intuition for tradeoffs
Week 7+: Manual Mode
- Use in straightforward situations first
- Graduate to challenging lighting
- Build confidence through practice
6. Common Mistakes and How to Avoid Them
Mistake 1: Auto ISO Gone Wild
Problem: Camera cranks ISO to 6400+ in low light, producing noisy images.
Solution: Set ISO manually in all modes. Use Auto ISO only with a ceiling limit.
Mistake 2: Ignoring Warnings
Problem: Camera suggests slow shutter or overexposure, you ignore it.
Solution: Pay attention to blinking indicators. They indicate potential problems.
Mistake 3: Guessing in Manual
Problem: You spin dials randomly, hoping for correct exposure.
Solution: Use the meter as your guide. Point at a mid-tone, start from zero, adjust from there.
Mistake 4: Forgetting the Triangle
Problem: In Shutter Priority, you set 1/1000s but camera opens to f/1.4 — shallow DoF you did not want.
Solution: Remember: smaller aperture = slower shutter. Watch both ends of the triangle.
Mistake 5: Never Leaving Auto
Problem: You stay in Auto because it is comfortable.
Solution: Challenge yourself: one week, no Auto. Review failures and learn.
Mistake 6: Flash in Auto
Problem: Auto mode fires harsh flash you did not intend.
Solution: Use Manual flash mode or learn flash compensation in other modes.
Conclusion: Your Path to Mastery
Understanding camera modes transforms you from a passive photographer who hopes for good results to an active creator who achieves them. Start with the mode that matches your current skill level, but always push toward more control.
Remember: Auto is not a four-letter word — it is a tool. But the more you understand Manual mode, the more consciously you can choose when to use less.
In our next lesson, we will explore White Balance and Color Temperature — understanding how light color affects your images and how to control it creatively. This knowledge builds directly on your understanding of exposure.
Your next step: Go out and shoot one full session in Manual mode. It will be challenging, but that is how growth happens.